
BIRDS OF PARADISE PROJECT
This was a fun and challenging project, created to inspire the junior art group but it led to other variations from adult students as well.(Not everyone loves the ‘Jelly-bean’ frame though). You could try something else or leave it without (or purchase a stretched circular canvas rather than a board)
Several new concepts in paint application were practised and revised
eg. * ‘Texture Printing’ with clingfilm, Scraffito, layering,glazing, blending (and the novel use of an air-dried clay frame and a circular canvas was incorporated too). They were practising drawing birds of paradise flowers for weeks beforehand.(and an outline to transfer was available for those who preferred).
STAGE 1
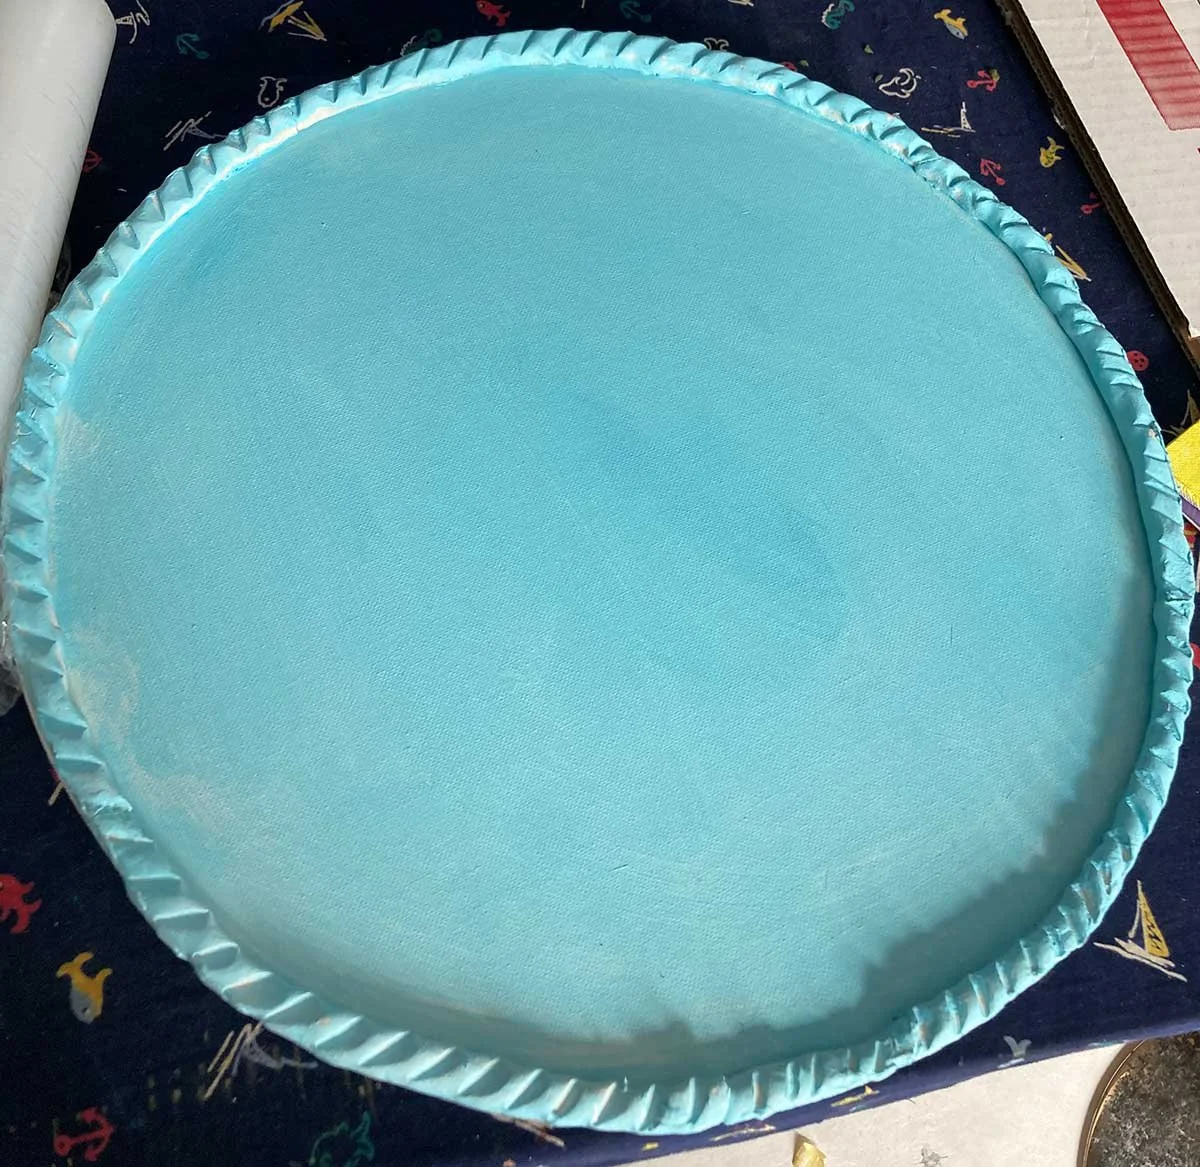
The circular canvas was given a ceramic ‘frame’ (air-dried clay rolled and joined and given a ‘carved’ texture, then glued in place.)


Finished painting with ‘jelly bean’ frame
The ceramic frame was made as follows: Do all of this on a back-board that can be put aside for 24 hours to dry well. Take away the round canvas to let the clay ring dry.
roll out clay ‘sausages’ of the diameter you want
Join them all up into a circle around the very outside of the round edge, not on the canvas itself (this is because the air-dry clay shrinks as it dries, and you may have to roll out an extra section to add in when the time comes to glue it onto the canvas.) Make a 5-8cm spare section in case of more shrinkage.
Once you have your circular ring of clay, use a cup or glass edge to gently press down the fluted impressions evenly all the way around, then put it aside to dry for a day. Just a mm will do 9or you may cut your sausage up!).
Once it is dry, check how much it shrank, by lining it up around the outer edge of the circle (it could be that you have finished your painting or you could glue it, paint it all then undertake the painting). Air-dry clay is not as strong as fired clay so you need to treat it carefully or pieces can break off. We added it first, and no-one had any accidents, but I recommend adding it last.
STAGE 2
Pale turquoise was used to underpaint the circular canvas and it’s frame. Keep 20 MLS or so in a sealed container so you can touch up all around as you need to in later stages.(if you don’t have turquoise, use phthalo blue, add cad yellow light(less) and add white until you get the value you want).
Your frame could also be added later if you prefer.(The image here shows the frame already glued onto the circular canvas).
Alternative frames made of air-dry or Fimo clay leaves etc could work too. Fimo clay is oven fired, so stronger.
STAGE 3
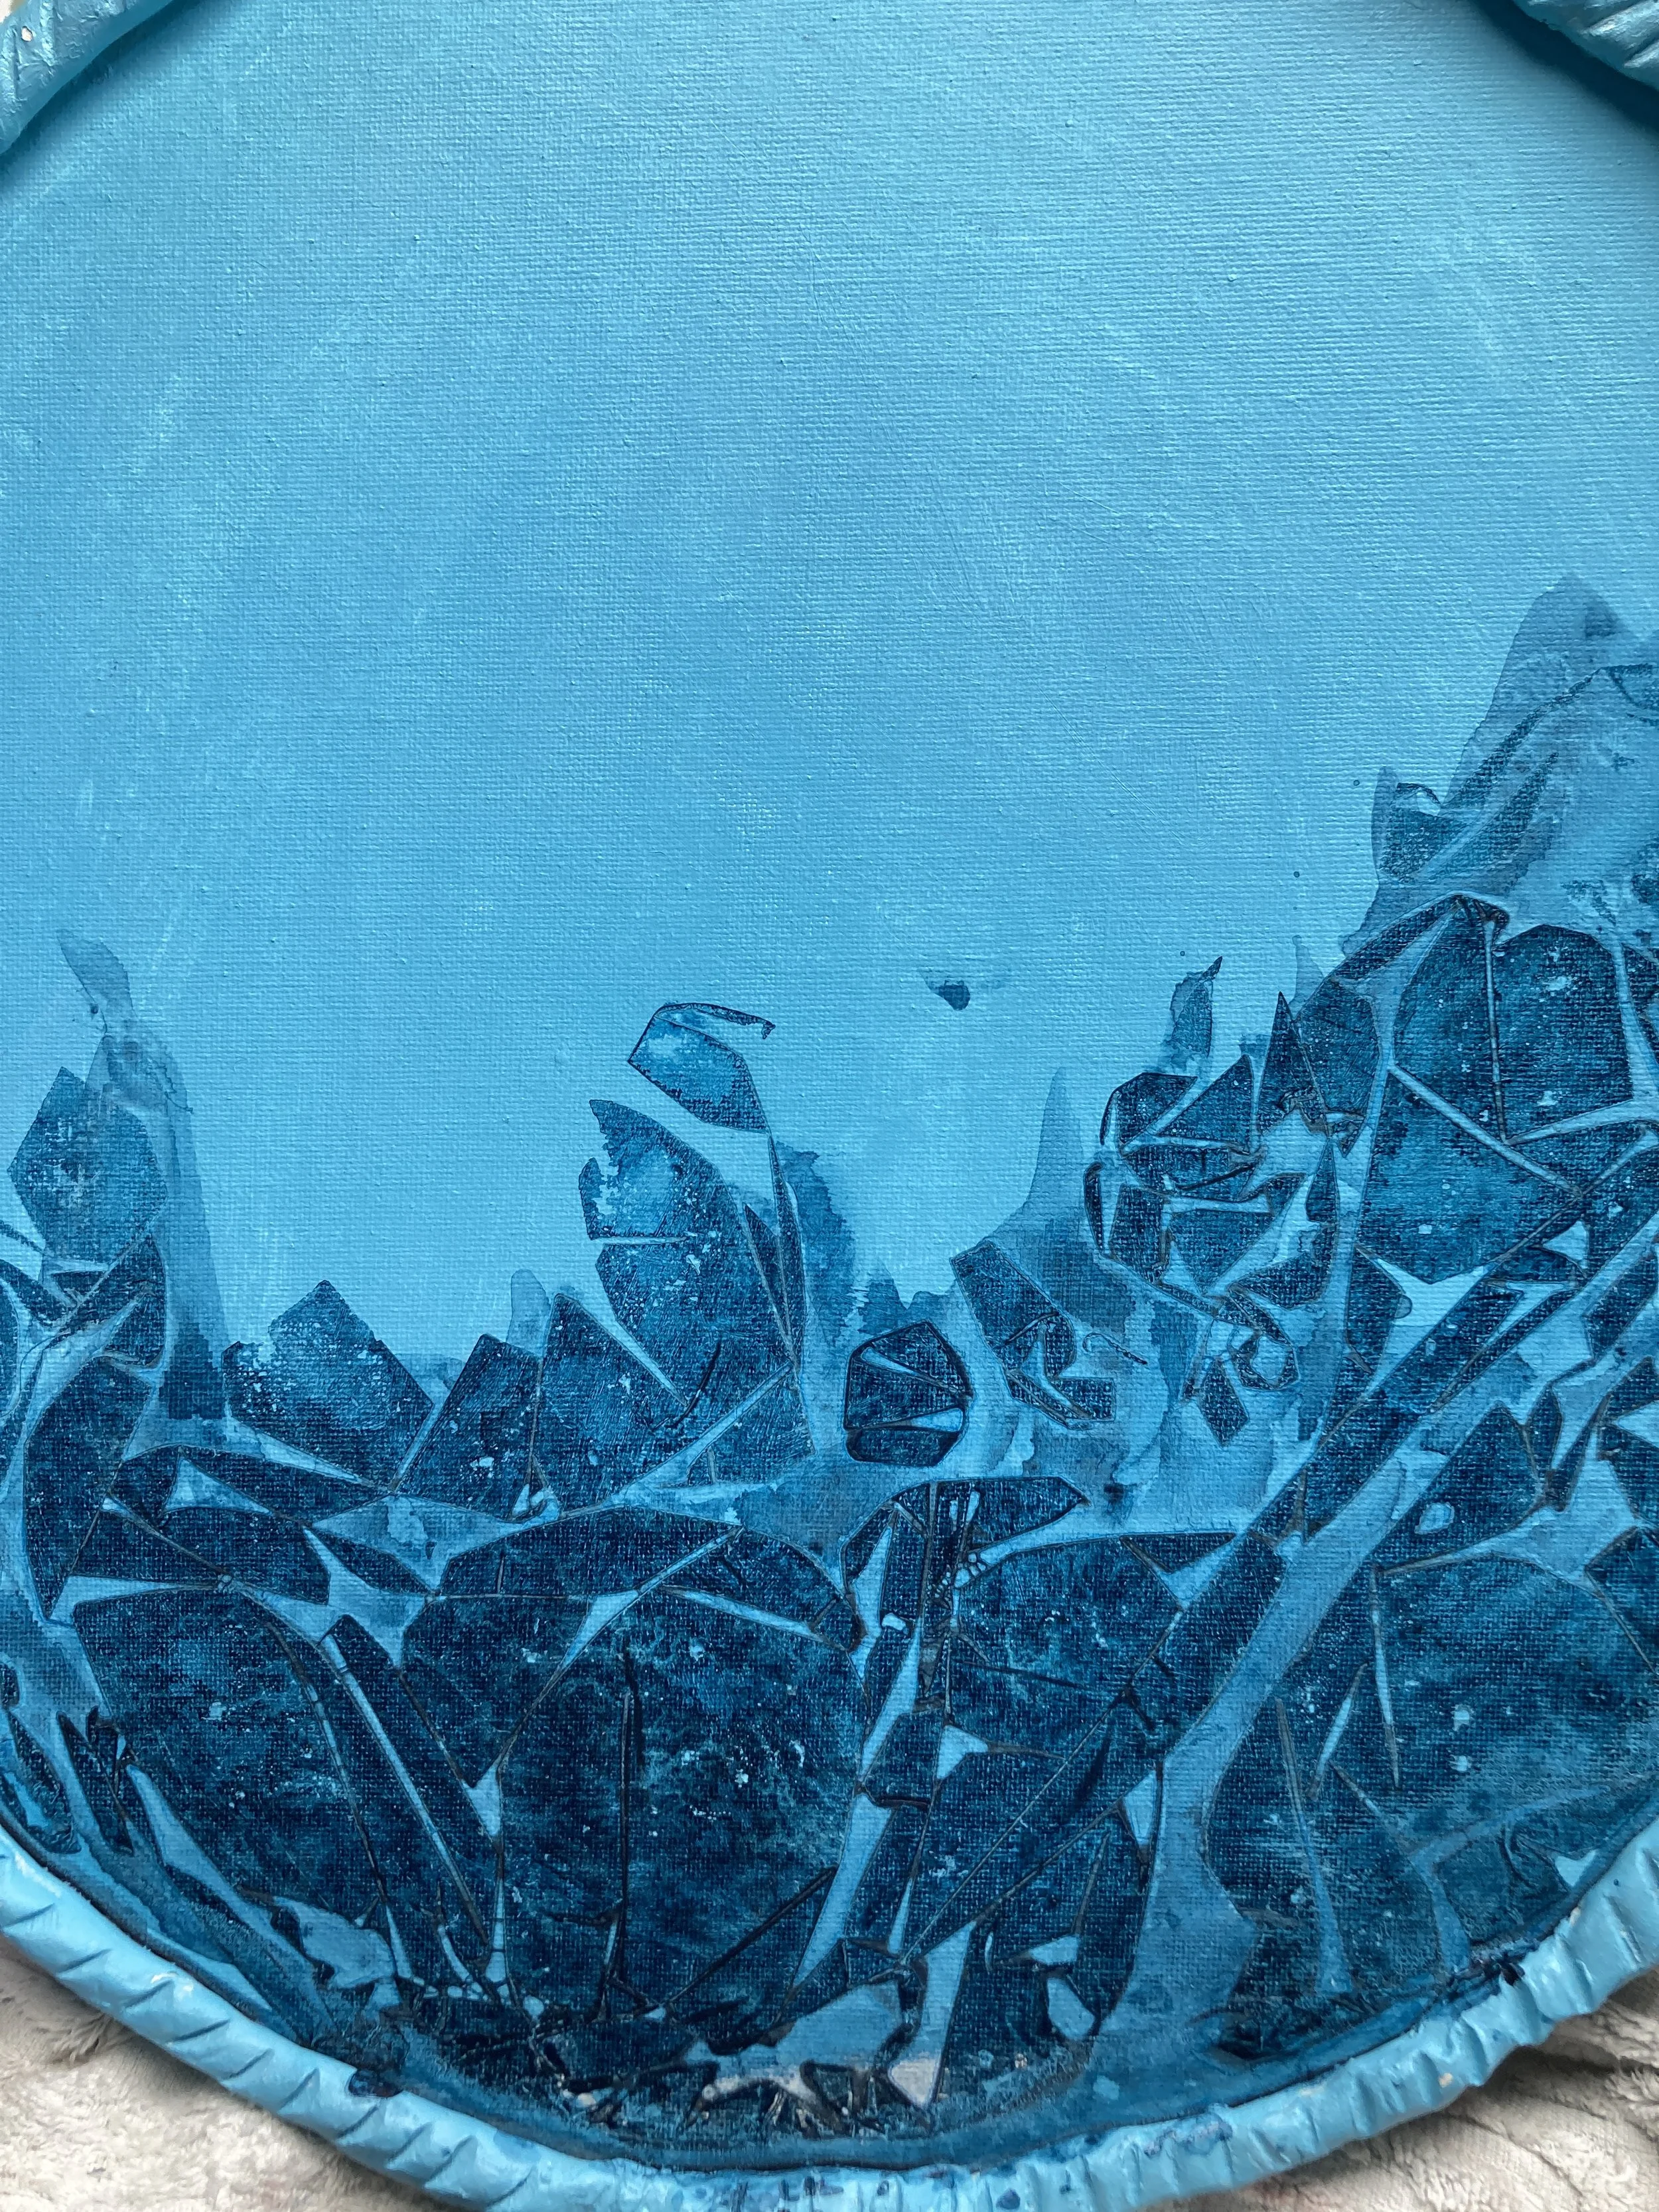
A liquid mixture of a dark blue-green hue (mine was mixed with a little burnt umber and phthalo blue) was laid down wet on the bottom part in ‘vaguely leafy shapes’, after which clingfilm was scrunched over the wet paint, also into ‘leafy shapes’ and left in place overnight to dry (in winter it may take longer).
When you remove the clingfilm, if some parts squished out or have made marks you don’t like, use some of the pale turquoise mixture that was made up for the underpainting, to cover up that which you don’t want.
Use more of the dark mixture if you want to paint in some deeper leaves over this background texture (not shown here, however in the next stage, a different demo is shown, which has two layers, a deeper one in front.) Further on you will see yet another version.
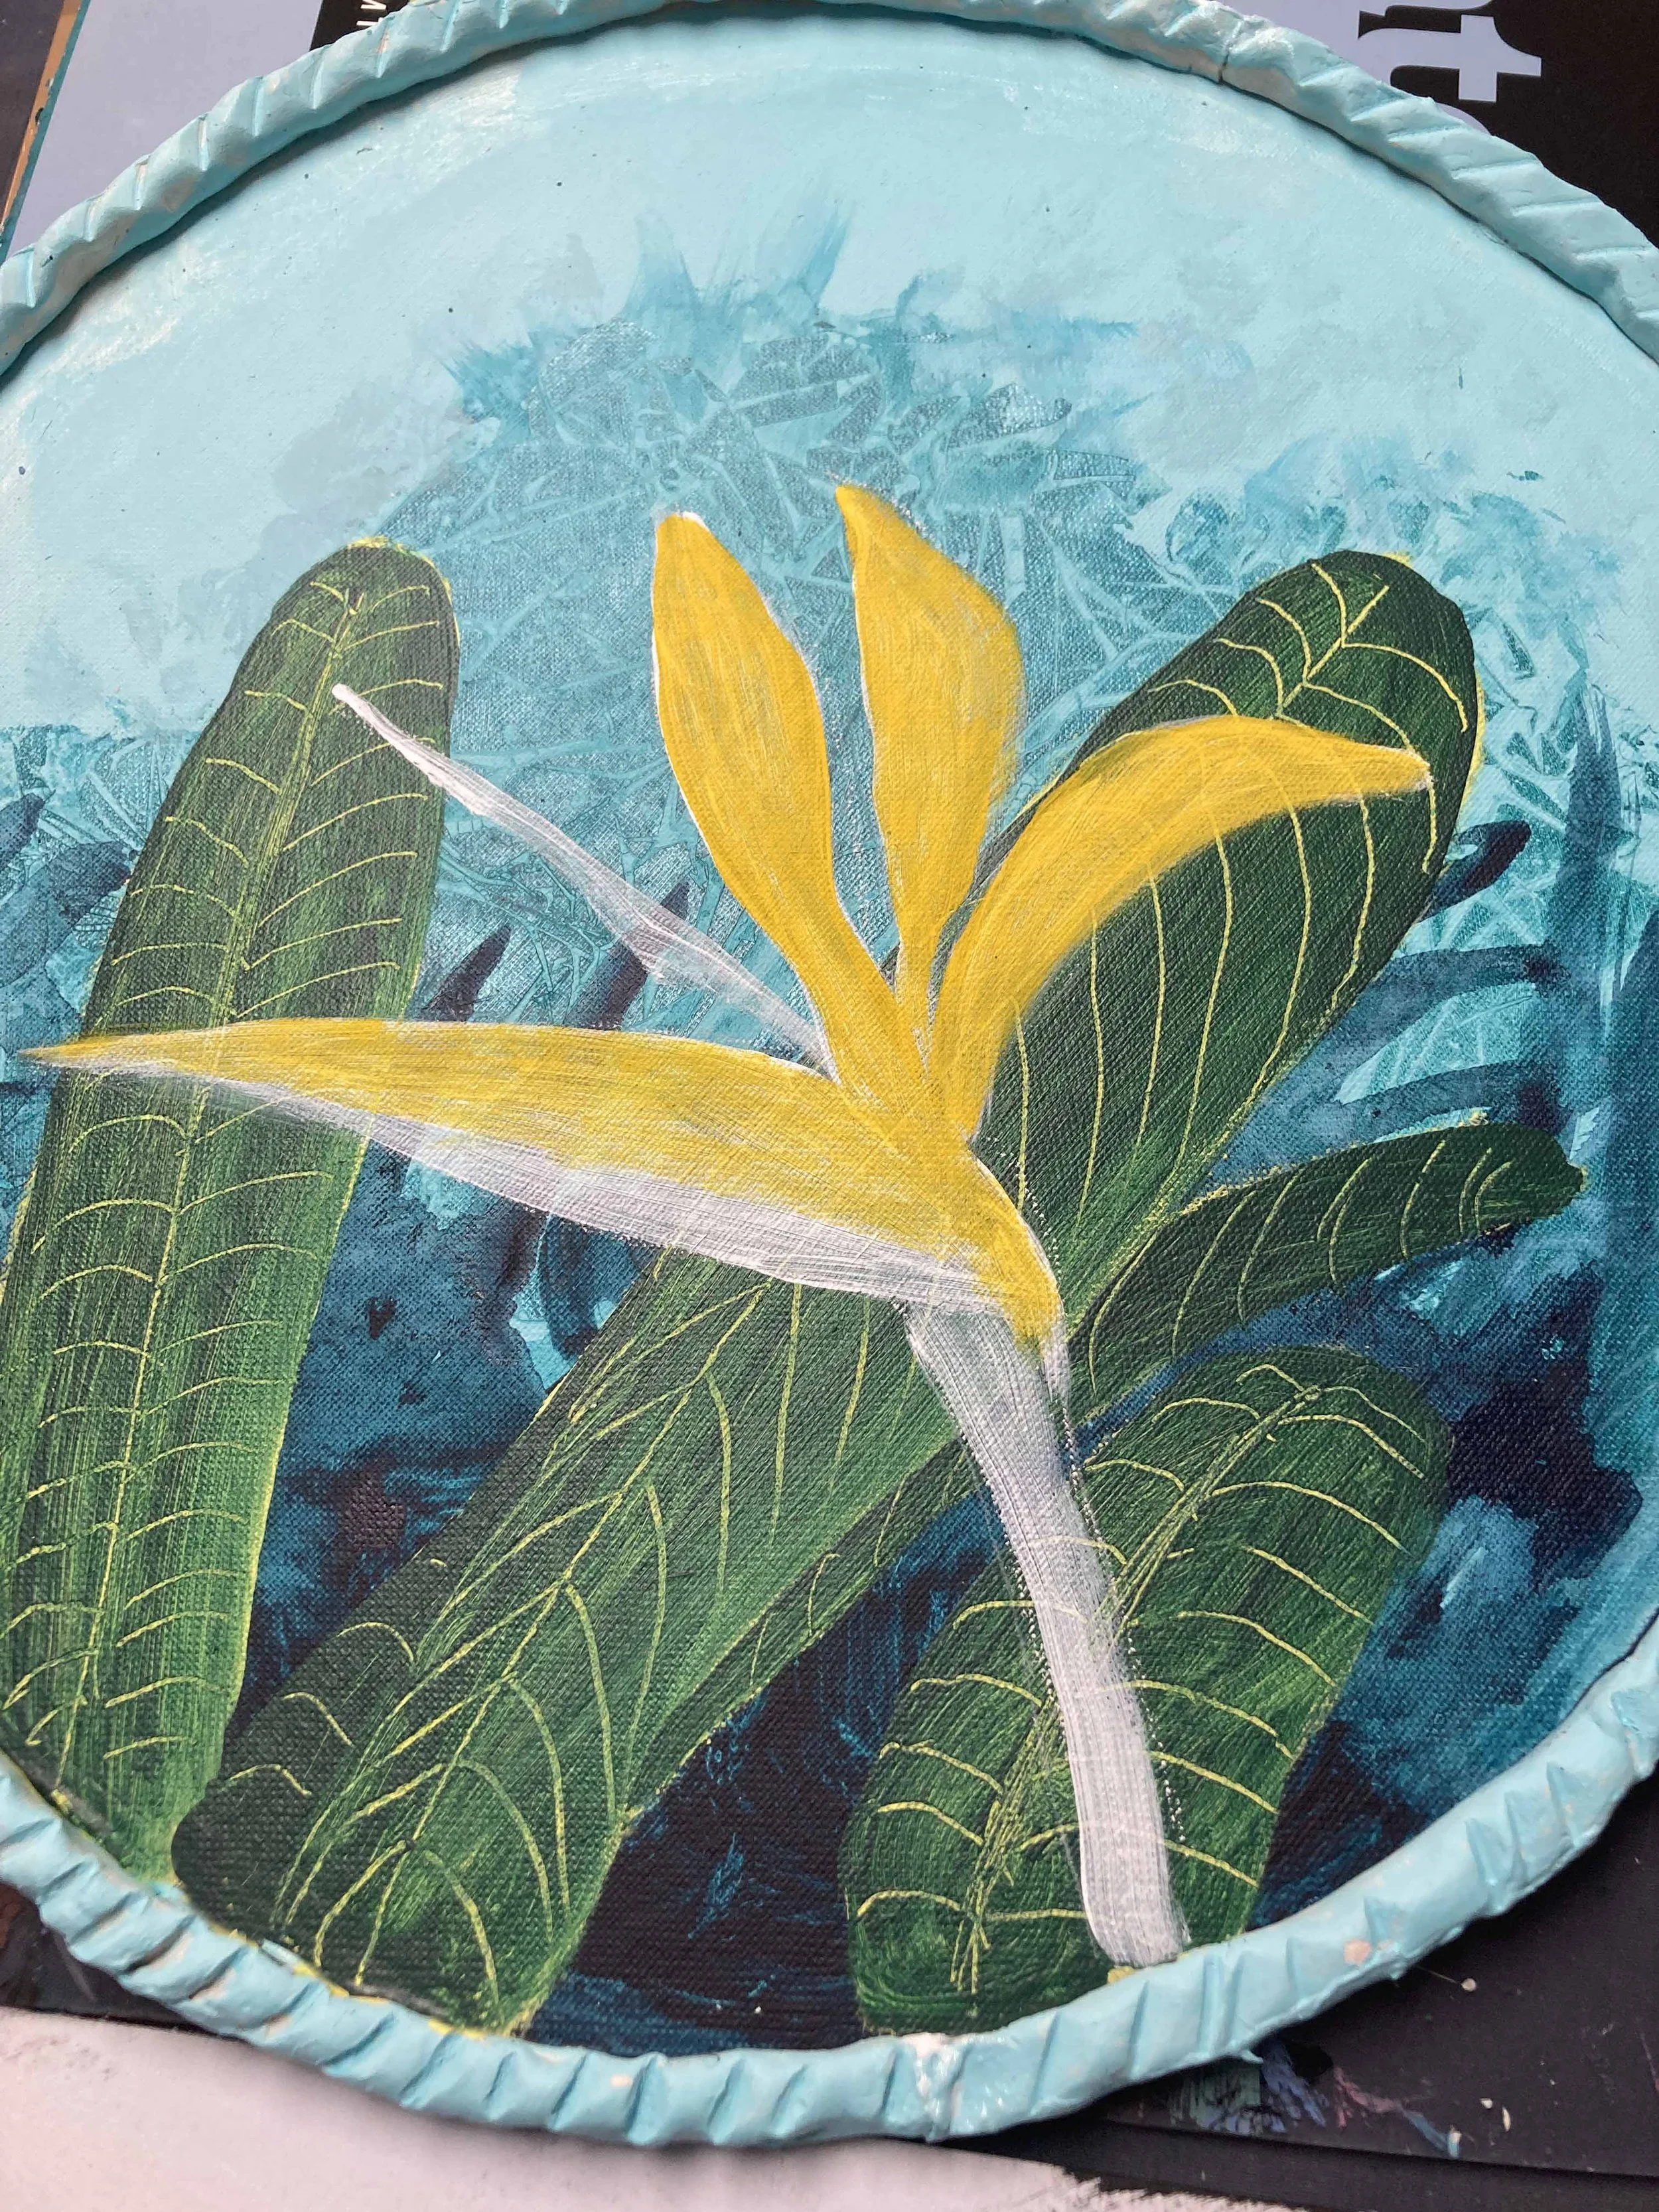
STAGE 4 and 5
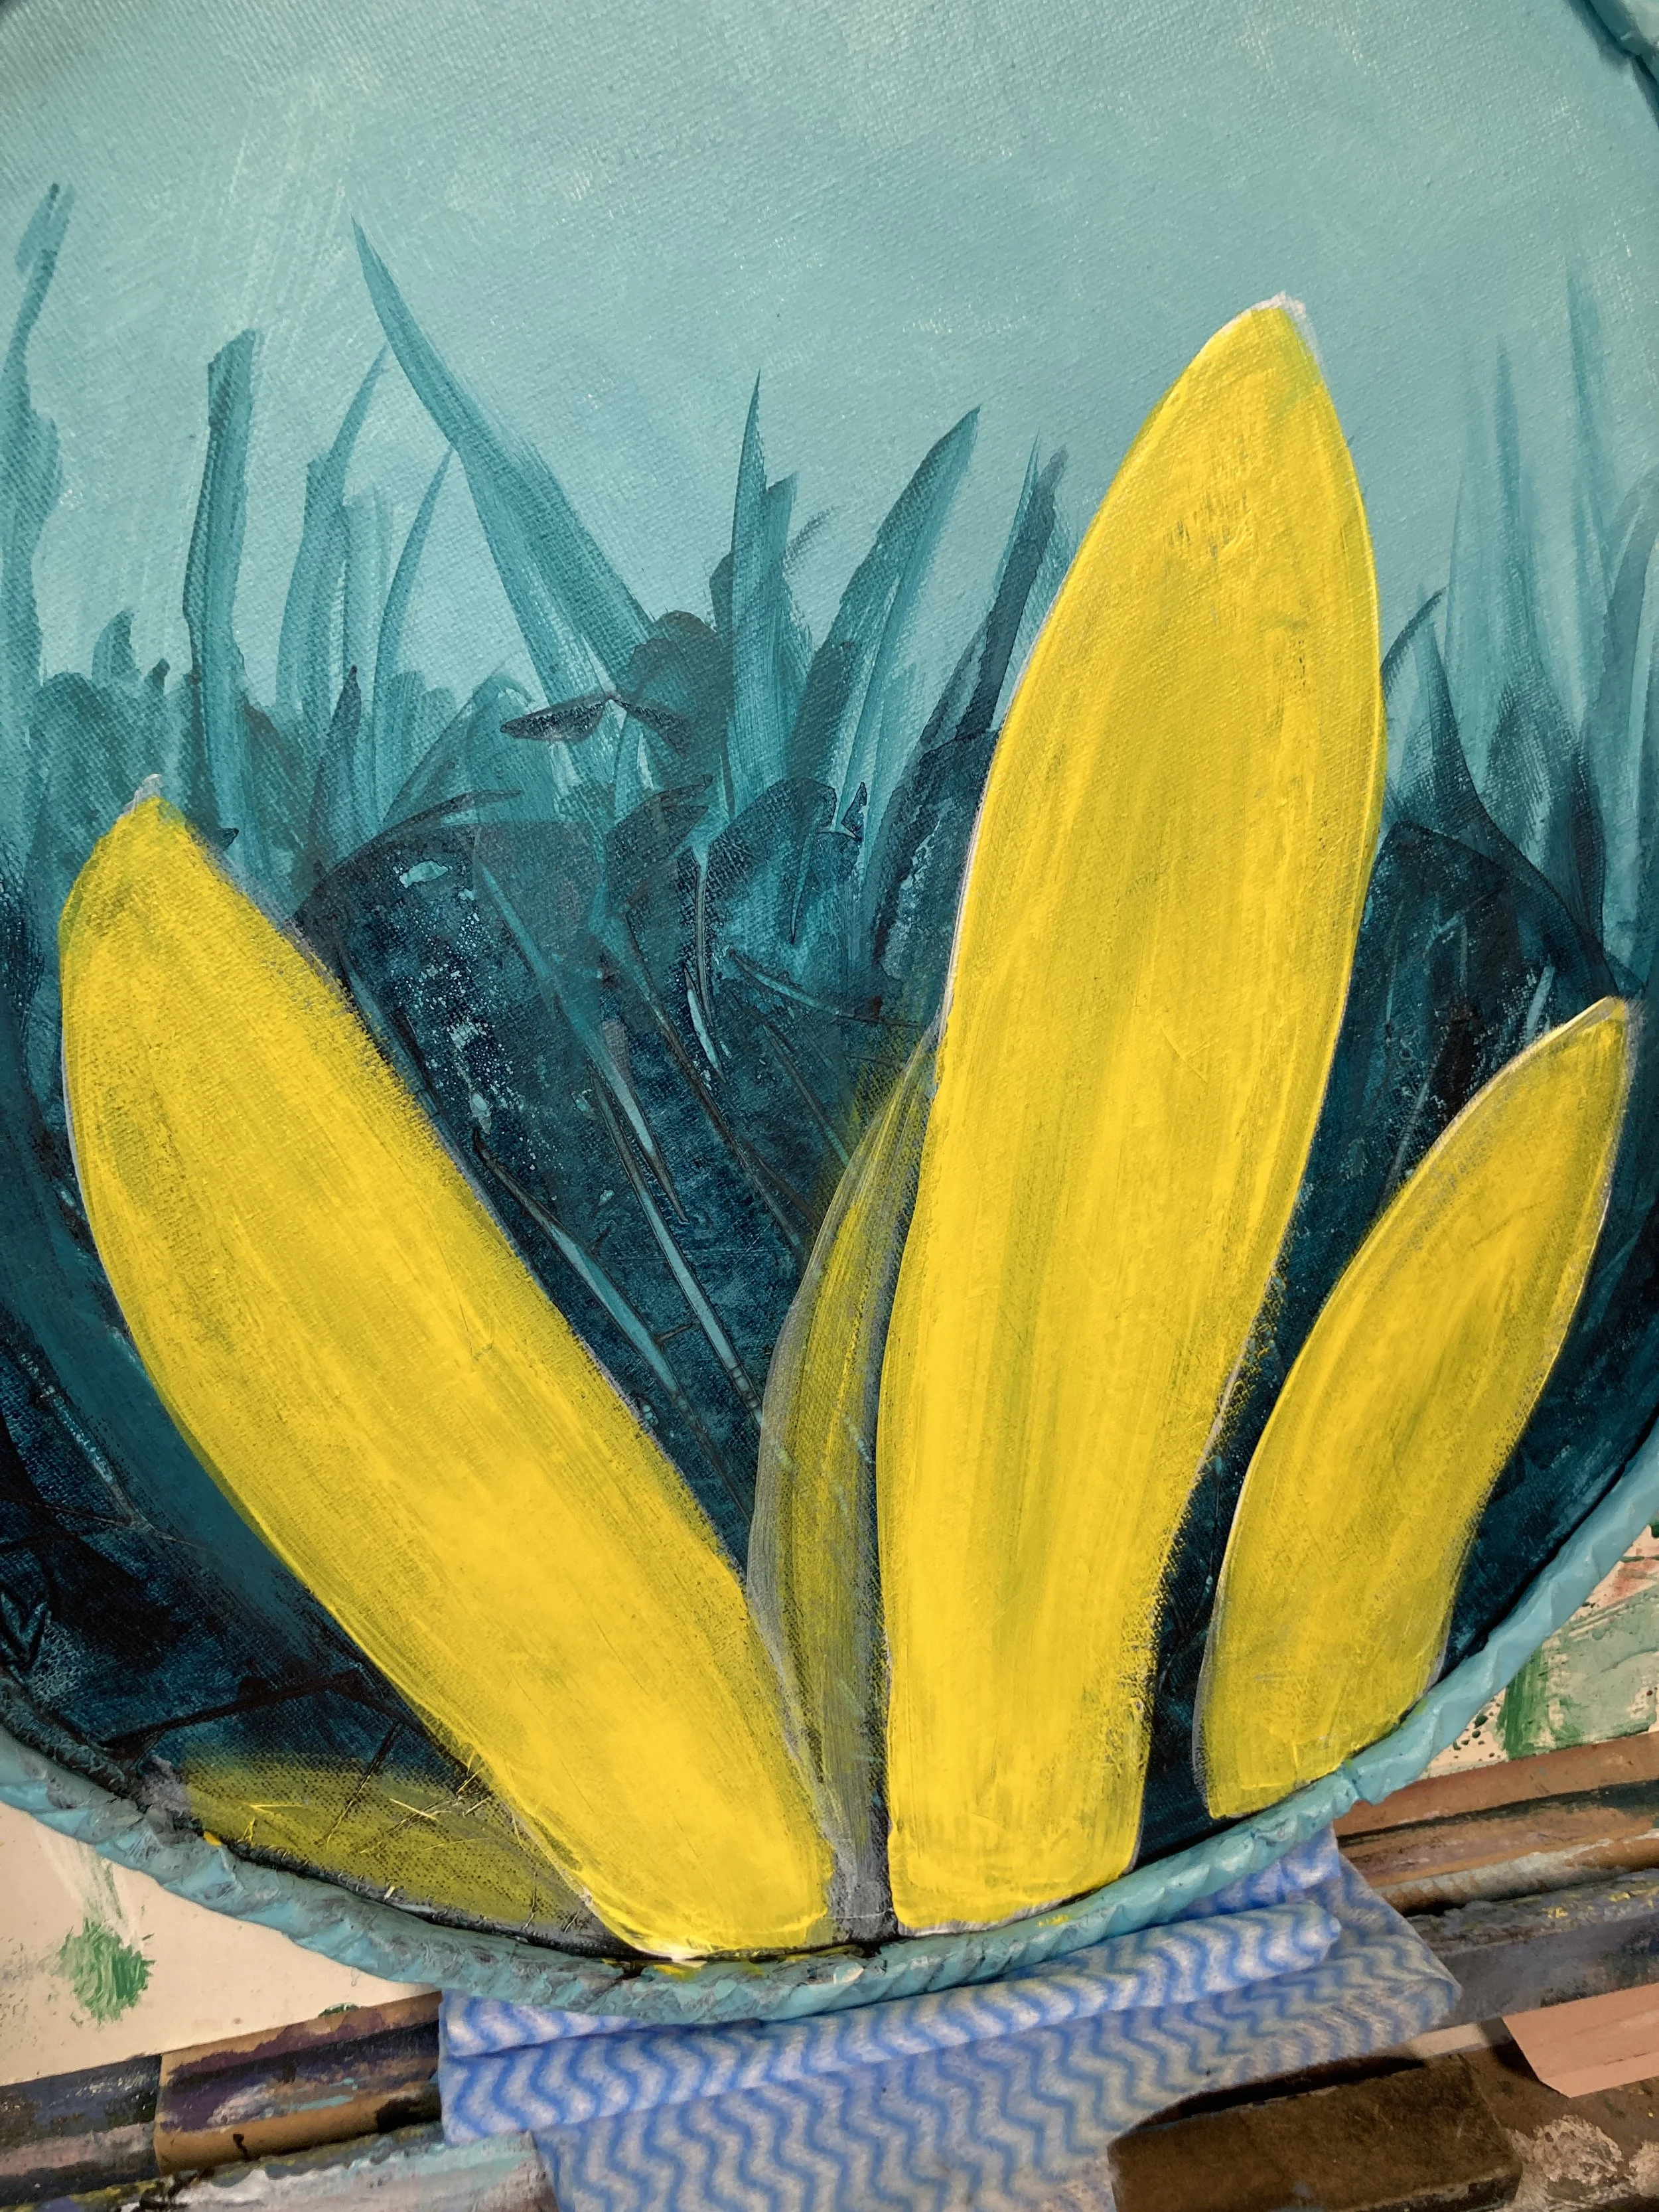
Draw in the big leaves, paint white first to cover the background and then paint them yellow. Ensure your leaves are not all the same size and distance apart, to take advantage of the design principle of variety (we can apply this to all of the elements and still aim for another principle, unity.)
If you feel that you understanding of compositional design could use a turbo-charge, check out this online module.
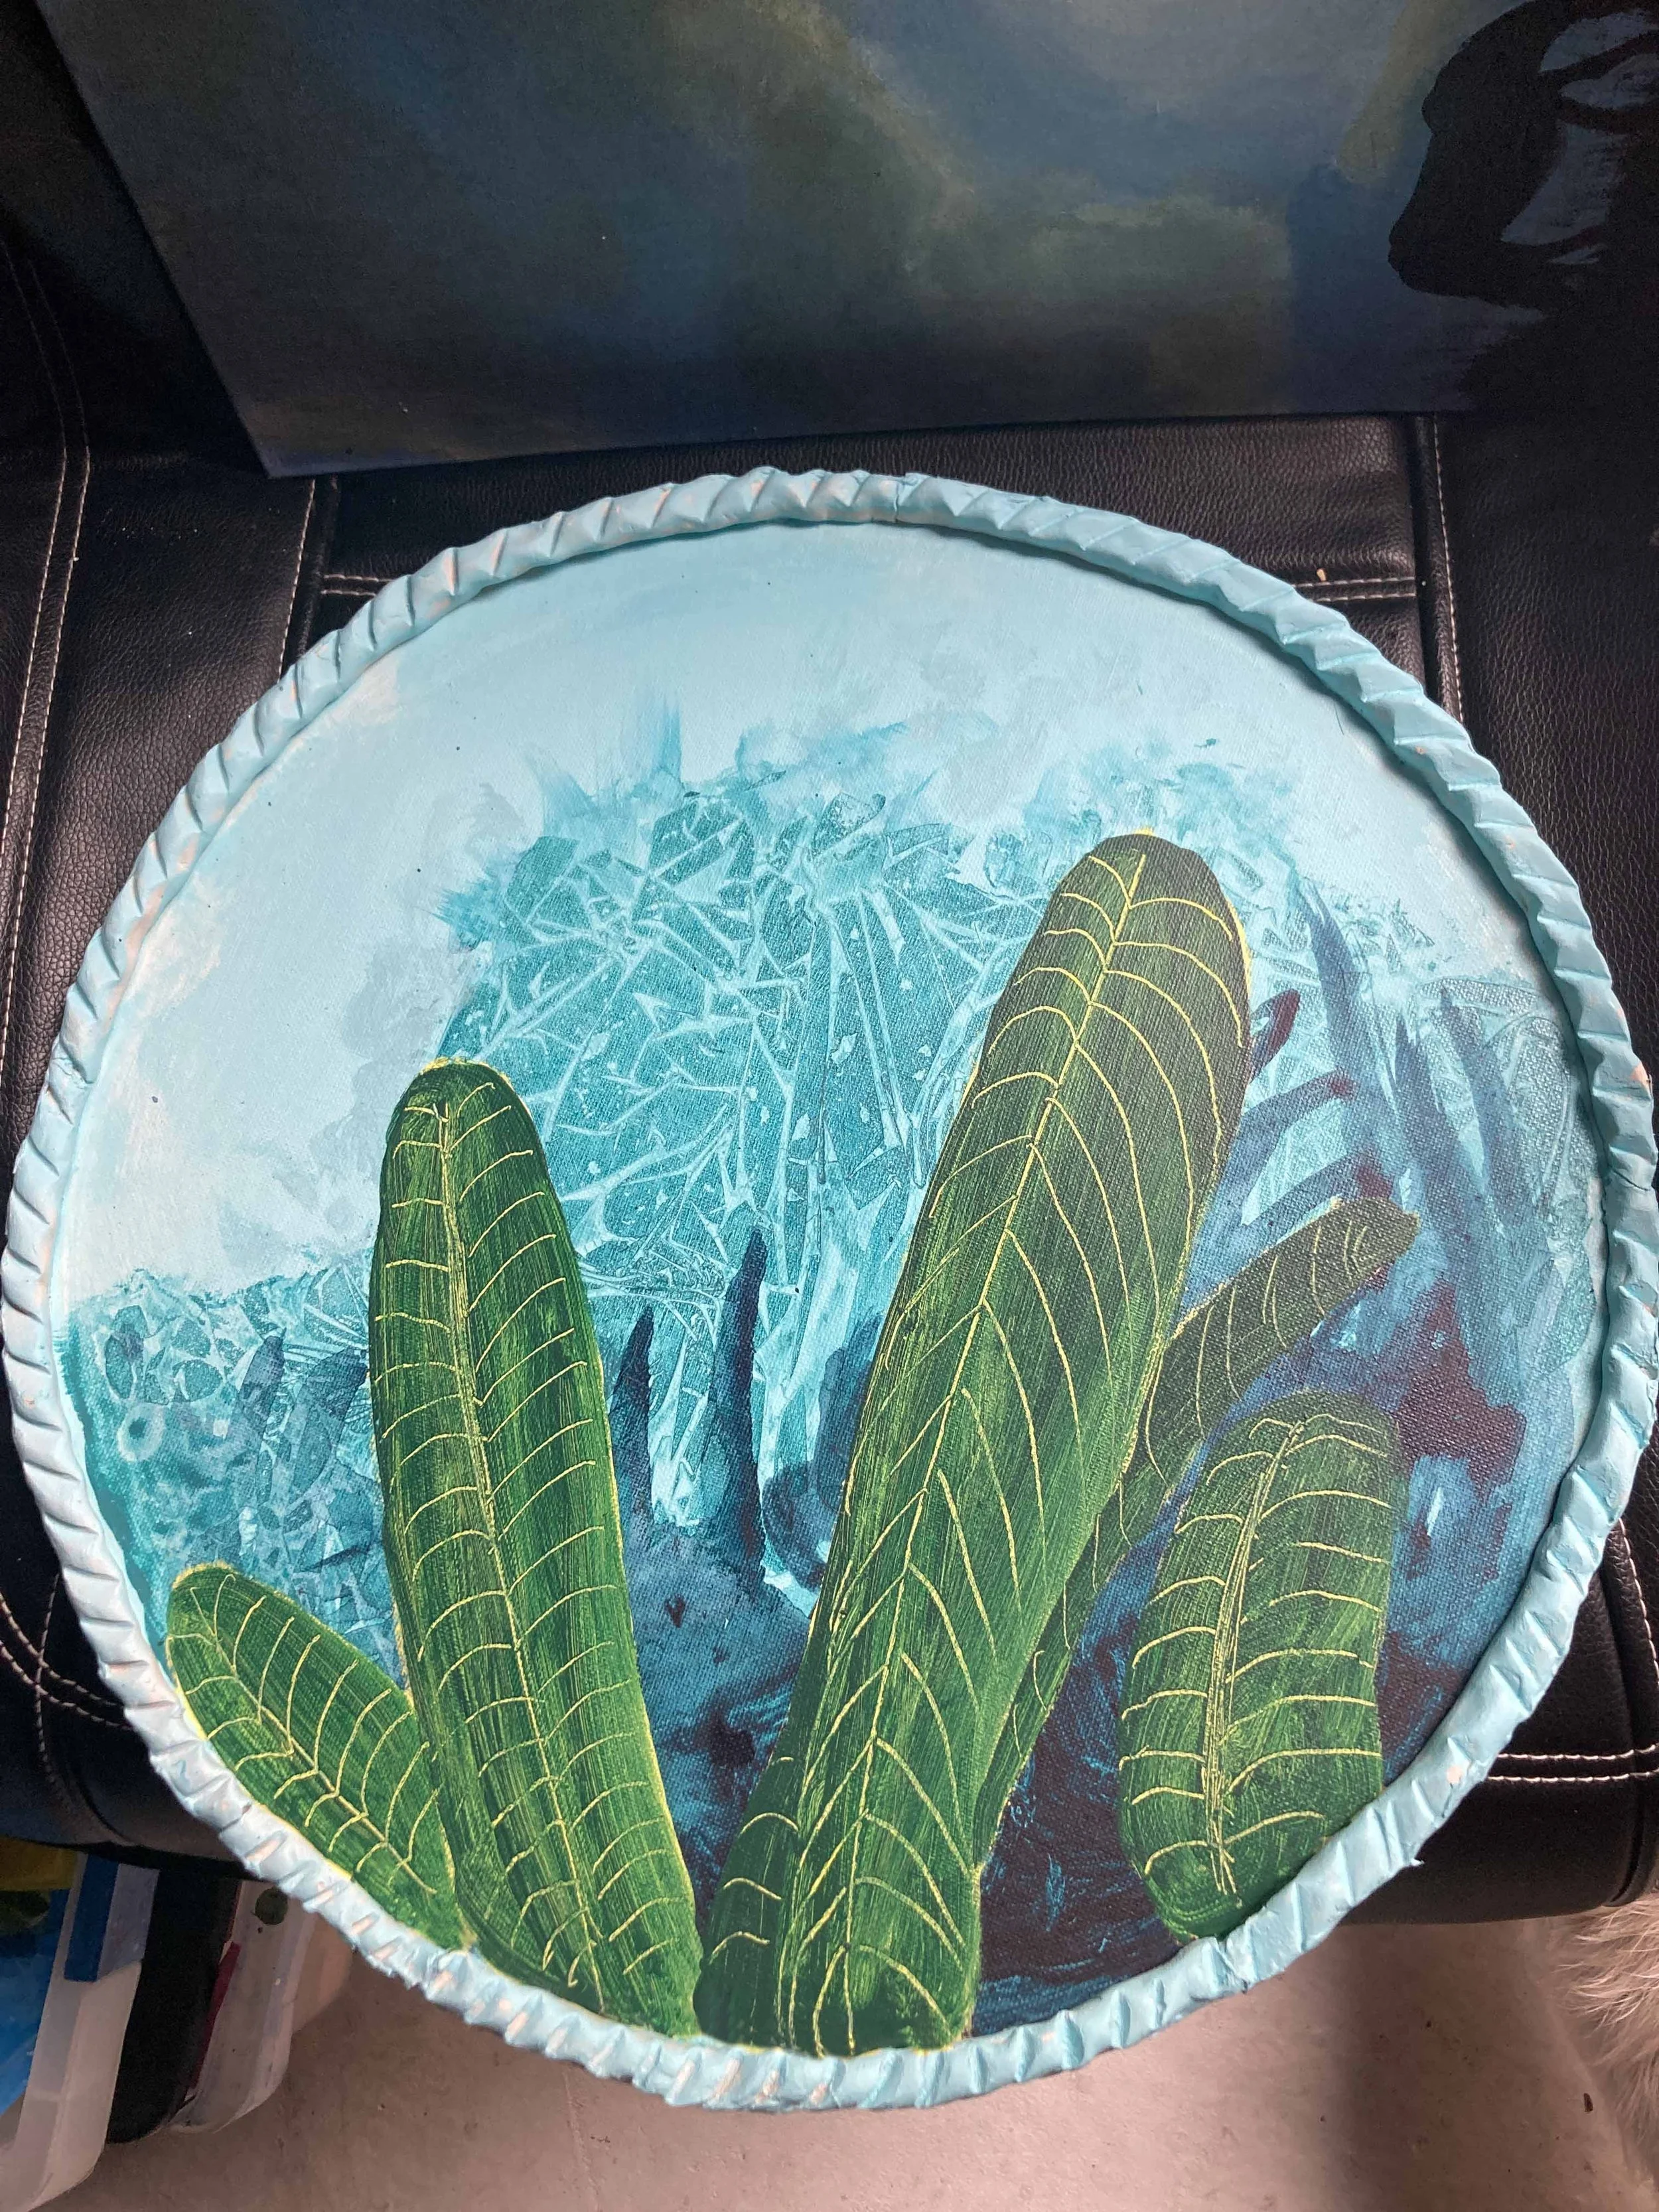
Next, in one small section at a time, paint over with a damp, dark green or dark yellow-green and immediately, use scraffito (scratching back to the yellow) to create te veins, as seen in the image.
The warmer your environment, the smaller each area of green paint you should apply at a time.
That way, it won’t dry before you can scraffito these back into the leaves veins. One leaf at a time, done quickly, should suffice.
So try to make the paint reasonably liquid, then the yellow underneath will show through a little and the veins you scratch in will all show.
STAGE 6
Now it is time to paint the main subjects in, the Birds of Paradise flowers. Find some interesting photographic references


Arrange them in such a way that one is the prima Donna, and any others are the supporting act, not competing with the main subject. try to employ asymmetric balance within all elements of your arrangement.
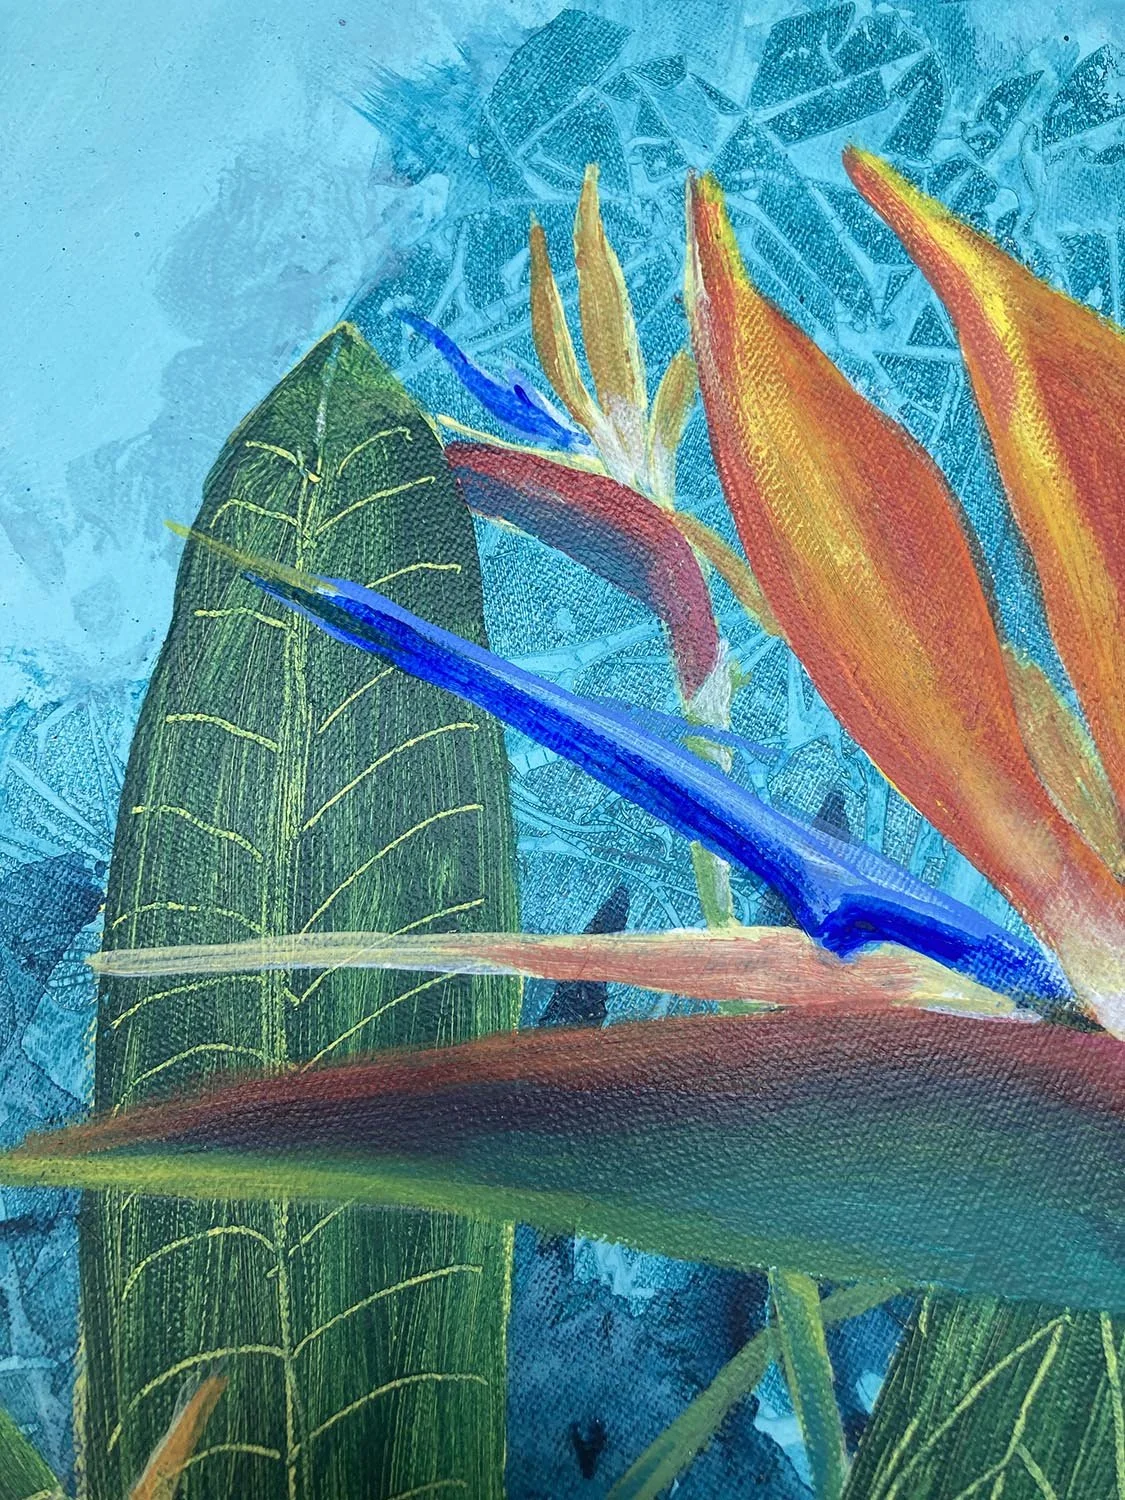
Paint the flowers and stems in white first. I also added yellow next to the areas where I wanted to place red or orange next.
Following your chosen flower reference, add the rest of your colours to the petals, stem and ‘beak’ of the flowers.
I added a light yellow-green glow to the lower edge of the ‘beak’ part of the main two flowers.
If I was to undertake this project again, I would definitely make the frame after the painting was finished. This would be easier, for sure.
Actually, I would probably send back the flat circular boards and request the stretched circular canvas that I thought I was ordering for the group!!
A turquoise painted edge would make a simple but effective frame on a stretched canvas.
To get what the kids called the ‘jelly-bean’ effect, we simply alternated 8 metallic colours. For some, it was the most exciting part .(I guess like me, just the name of something laden with sugar get them excited).
A short cord with double knots on each end, was glued onto the back with Gorilla glue blobs and left flat to dry as a hanging device.