
VALUE, LIGHT AND SHADE EXERCISE 1
Download a grid, to print (or rule up three pages with a grid like this below) and practice many different ways of shading with hatching in graphite, then in charcoal and also in ink. A video below gives a demonstration for those who have not tried adding value with different forms of hatching and shading.

VALUE, LIGHT AND SHADE EXERCISE 2
Draw a circle and a few lines to the left and behind imply a horizontal surface.
Use your hb or h, keep it light
Next, with a B or 2B , using hatching (with or without blending stump) show the following
a) Light source direction
b) Highlight on object
c) Halftone areas
d) Form shadow
e) Cast shadow
f) Reflected light

VALUE, LIGHT AND SHADE EXERCISE 3
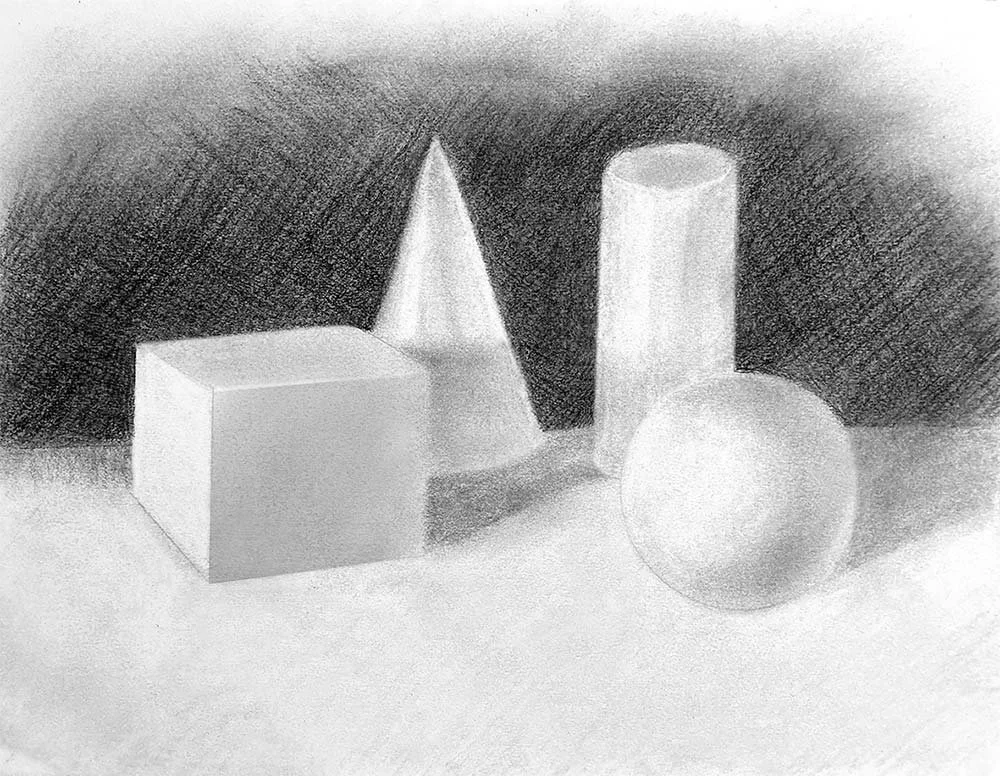
Draw and shade some basic 3D shapes: cube, cone, cylinder, and circle.
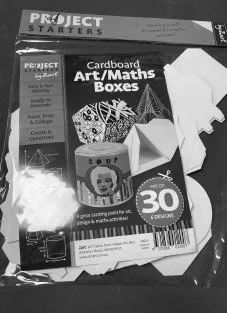
Use hatching, blending or both. You can get 3D shapes from craft stores etc, and create different lighting source, or just use an image like this for basic practice.Try to identify how many of the tones on this 0-8 tonal scle you can find in this image.


Create these basic shapes. Start with the simple steps to building each shape, then add the shading for the form shadows and cast shadows as shown, in the space to the right.
Use your blending stump to softly blend the shadows and use your batter eraser to clean up any raggy edges.(normal in the beginning).
If you don’t have a battery eraser or ‘pencil’ eraser, cut a clean edge on your gum eraser to clean up edges.
Charcoal is a lot more smudgy to work with than graphite. Keep a clean piece of paper under your hand to help prevent further smudging

VALUE, LIGHT AND SHADE EXERCISE 4
WATCH THE VIDEO AT the BOTTOM OF the PAGE (shows just one way to shade folds of fabric, reverse drawing into a toned background with a gum eraser, battery eraser, the using blending stump to soften all edges)
STEP 1. Rule up a rectangle in your A4 drawing pad
21cm high x 20 cm wide
STEP 2. Very lightly draw in vertical and horizontal crosshairs
STEP 3. Using the edges of the four quadrants to help you estimate shapes and proportions, draw the four distinct shapes, outlined in colour below. Erase the crosshairs after.
STEP 4. Using a soft charcoal pencil or a b graphite (2b or higher ideally), shade deeply across the entire background shape. Using a paper towel or tissue, smoosh all over to smooth the background, then lightly shade across the subject shape as evenly as you can. The whole subject shape should be a light to mid-tone. The whole background shape a 6 -8. - ON THIS 0 - 8 VALUE SCALE

(you can clean up outside the rectangle now with your eraser if you wish.)
At this stage I would rest a clean piece of scrap paper under your hand as you work over and around the shaded areas, to avoid picking it up and dragging it around on your hand as you go)
STEP 5. Now re-visit the area that’s in the red outlined shape here and break it up into the other loopy-foldy type shapes, squint to narrow down the values(tones) to just dark or light.
You could choose to just outline the dark shapes or just erase the light shapes (I think the latter is easier)
STEP 6. Do the same for the left area outlined in green. Divide it up into it’s other inner shapes/ folds. Also, draw in the edge of the table (blue) if you didn’t already).
STEP 7. Refine the circle shape of the apple to reflect its actual shape, which is more eliptical on the right side, add a darker shape for the part where the stalk will come out of later
STEP 8. The ideal tool to help find all of the shades in between white and black is a blending stump (tortillon). You can blend edges with it and as it collects graphite (or charcoal) it can be a shading tool as well. If you have a battery-operated eraser, you can get nice crisp lines and edges where needed, otherwise just use your gum eraser, cut a sharper edge to make it easier. The very thin white light S shape drawn in on the left edge of the rolled fabric is hard to reverse draw without a battery-operated eraser or a special fine pencil eraser. So you can erase a larger S and then shade in and around, ‘leaving out’ the thin light lines.

VALUE, LIGHT AND SHADE EXERCISE 5
Print Line Drawing (for beginners) to add in the values according to the reference. (or draw the outlines yourself)
the add the values to give the 3D and metallic appearance.
Print line drawing and reference
There is nothing as rewarding as successfully value-modelling a line drawing to give a metallic look (of course drawing the shapes, spaces and elements in proportion yourself is also very pleasing, but there is a line drawing to print and shade if you have not practised drawing much as yet.


VALUE, LIGHT AND SHADE EXERCISE 5 - USE VALUE LIKE AN EARLY CUBIST (SOME OF THE FIRST ABSTRACTIONISTS)
This grid shows several different ways to shade a basic rectangular shape.
Draw up a 3x6 grid in your cartridge drawing pad, and try all these different ways of shading a rectangle.

This is a shading doodle, created by drawng a random design (in this case a few letters) over the first grid, then proceeding to shade against the two line drawings.
Try it out below with your own second design. overlay. eg. Draw a few still-life objects eg. a few pieces of fruit, or a teapot and some cups.
The Analytical cubists used ‘faceting’, or shading gradients in different directions to help give the impression of different viewpoints. This was around the beginning of abstraction in art. They erased parts, shifted sections and going forward, synthetic cubism followed where a sense of 3D form was not as consistently sought. Value contrast was used more as a 2D design tool.

‘TEA TIME’ - 1911, Jean Metzinger

Guitar Player- 1910, Pablo Picasso