Gumtree landscape in Watercolour
Watercolour techniques practised
- wet in wet
- lifting out
- layer masking with liquid frisket
- glazing
- liner detailing
- layering
Read through all instructions, watch both brief videos, get all the materials ready and start the project with a clear idea of the stages you will be working through.
MATERIALS
- cobalt blue, permanent rose, cadmium yellow, burnt umber, ultramarine blue, cadmium orange
- flat synthetic watercolour brushes, a few sizes, 0.5cm, 1 cm, 1.5 cm
- liner brush, small round mop for dropping in water,
1cm synthetic flat for glazing
- any size rectangular sheet of watercolour paper or canvas (just have larger brushes your paper is bigger than A4.)This one was only 15x22cm. If you decide to go larger, choose brushes accordingly.
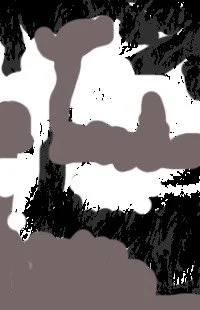
NOTAN STUDIES
It is important in the compositional planning stage to decide on a tonal pattern. In watercolours we often build up the values gradually and to maintain a beautiful translucent surface with dark values that are not muddy, the overall value plan needs to be well established.
On the left is a 2-value notan and 3 values on the right. If you are using your own reference to work through this project in steps, so a value study first. (if you are unsure about this you may need to undertake the online module Value, Contrast, light and Shade, which will be a huge assistance in understanding this part of compositional planning.


The harmonious colour scheme you are going to be employing here is a tetrad with blue. orange, yellow-green and red-violet
STAGE 1
a. Lightly sketch in your gum tree and background hills with the watercolour pencil.
b. With a mop brush, drop in just clean water first behind every branch and
spread it down half the sheet. (a mop is good for this as it has a fine tip for
fiddly corners but can be loaded with lots of pigment and or water.)
c. No masking was used in this stage but if you were painting in a smaller area
with very fine branches and twigs, you could always paint temporary masking
latex liquid over all the finer branches and let it dry before doing the wet-in-wet washes. (I plan on rectifying any weird-shaped twigs and
branches with the positioning of foliage later)
d. Drop in your sky blue colour (cobalt), returning to the uppermost sections and dropping more in to deepen that part. This should imply
some soft clouds near the horizon. Wash the brush and use it damp to lift out any darker bits that might try to sneak down where you don’t
want them. You can also use a tissue to lift some pigment off for clouds.
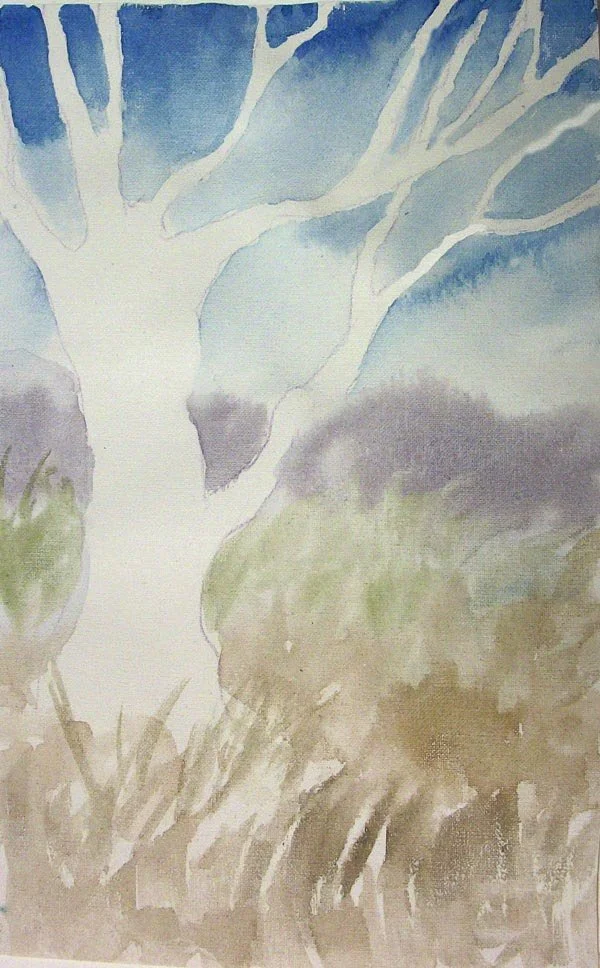
e. Mix up a greyed violet colour (cobalt, rose, a tiny bit of yellow to neutralise the violet, a dot of blue if it starts to go brownish)
While the background is still wet, drop this violet colour in for the hills (like in the image above).
f. With a very pale, neutral green (make with yellow and ultramarine), using the liner, flick in some short grassy strokes to imply dry grass in
the distance. All this time your paper should still be damp. Now mix a little burnt umber into that green and make the foreground strokes
increasingly longer. Let it dry.
g. Before the next layers below, liquid masking frisket has been applied to parts of some branches, the trunk and foreground grassy areas to preserve highlights.(where the sun is highlighting branches, trunk and over the dried layer of foreground grass where the lighter blades of grasses will be painted in later as the layers build up.)
STAGE 2
In the next steps, you will build on the 3D-ness of the shapes.
a. First, gently re-wet the hills slightly and drop some more of the grey-violet into the
shadow side(Right) of the hills.
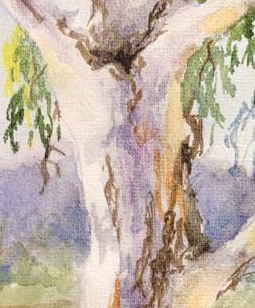
b. Wet the entire tree with the mop brush (the branches only need to be damp, not as
wet as the trunk. Now make a puddle of a slightly warmer red-violet and drop it into the
middle areas of the trunk and major branches. Use a tissue or a clean brush to lift out
straying pigment.
The aim is to leave both sides slightly lighter at his stage, with very gradual blending across.
On the sunlit side of the tree, you have preserved the patches of highlights. On the non-sun
side of the trunk and branches, some lower areas will have warm reflected light bouncing
on the trunk and this needs to go on the pure white paper, then after, the other parts of
the right side will get a soft shadow glaze, but so will the whole trunk, in effect increasing
the contrast between the highlighted areas.
c. For the foliage, you will also need the liner brush. First, get pure yellow (which will
appear as light green as it is over the blue). Using short flicking strokes, lay down some
clumps of just the highlights of leaves on the sunlight side of the foliage areas.
Let them dry.
d. Mix ultramarine blue and yellow for a fairly dark green. Use the flicking strokes again to
fill the other side of the foliage areas. Let dry. Mix a darker version of the same, just with a
little more ultramarine and pick out some darker areas here and there.
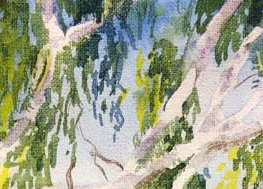
STAGE 3
a. More frisket is applied (in grass-type strokes) which were added to the grassed area before
this rich burnt umber layer below was brushed in, still using the liner brush.
b. While it was still wet, ultramarine blue was brushed into the tree's cast shadow areas
on the ground, in effect creating a cool blue-grey colour, maintaining the same grassy
texture with flicking strokes of your liner brush.
c. Burnt umber and a darker brown, (made darker by adding ultramarine to the burnt umber)
are used with the liner brush to add some barky areas to the trunk. If you have not drawn or
painted many gum trees before, have a look at some photos to guide you in the typical
anatomy.
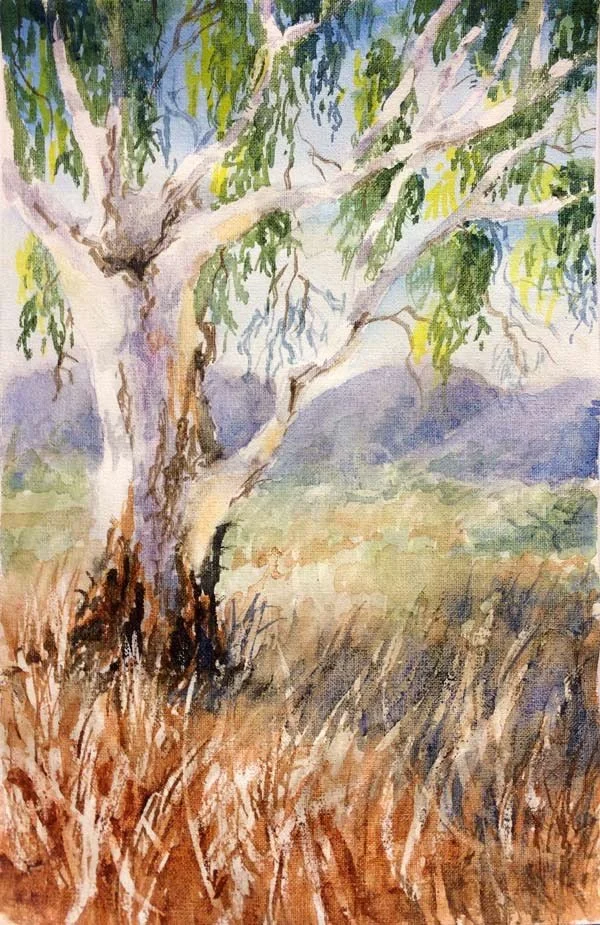
STAGE 4
In this next layer, after rubbing off the frisket in the foreground (for now, leave it on the trunk and branches.), more thin strokes of frisket are laid down (as fine as possible in different directions to the former layer.)
Below - Add more strokes to the grass areas with burnt umber, and add
some more shadow strokes in the Burnt umber/ ultramarine mix.
Wet the patches of the preserved white area on the right side of the
trunk and add a faint light orange ‘stain’. This is to be inferring
reflected light. I never met a reflected light I didn’t love! and I am not going to wait
around to see it in a photo or even in a landscape. It is a tool for us to use in creating
an ambience, a mood, implying a temperature, and a time of day. The reflected light
also supercharges your value rendering of a 3D subject, the warm stain here adds
the feeling of a hot day.
The finished painting, below.